|
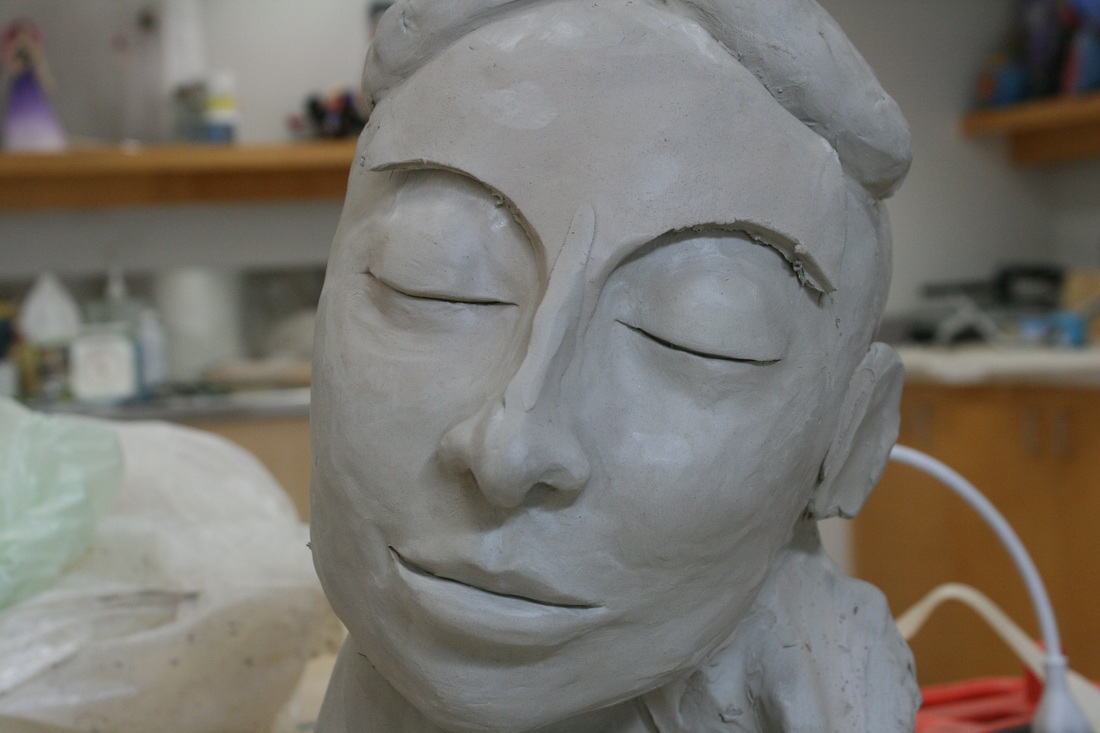
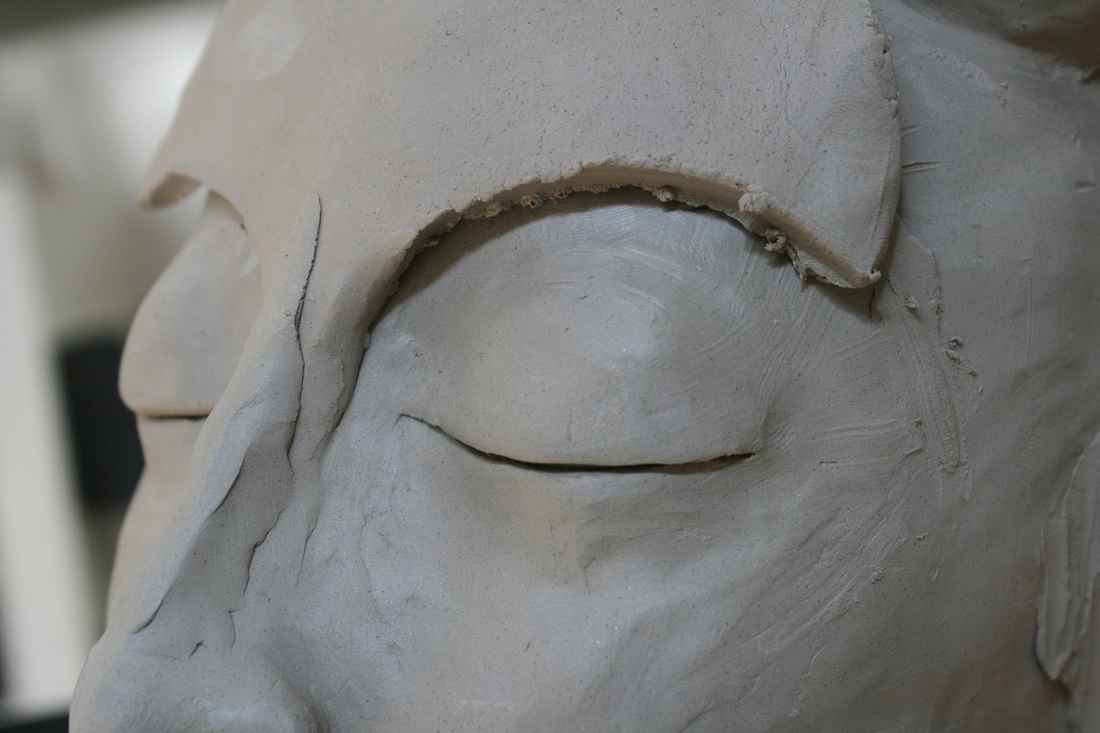
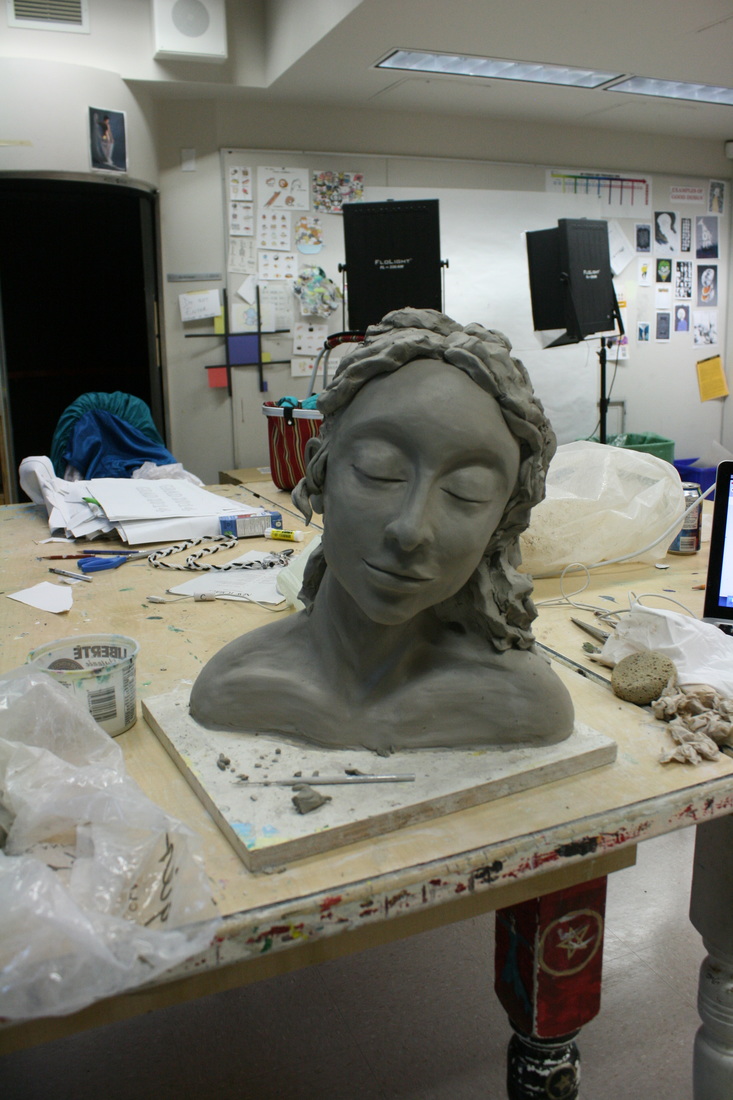
5/23/2016 0 Comments Adding volume and hair Today is Friday, and I am again working at my bust. I am enjoying the process very much, and can't wait to work on her hair. I am worried about carving the volume out to make her hollow, but... one step at a time. I started by finishing her left eye. I always make my eyes by putting on the lower eyelid and then the upped eyelid, so there is a little overlap and the eye looks more natural; it is a different experience working at this scale!
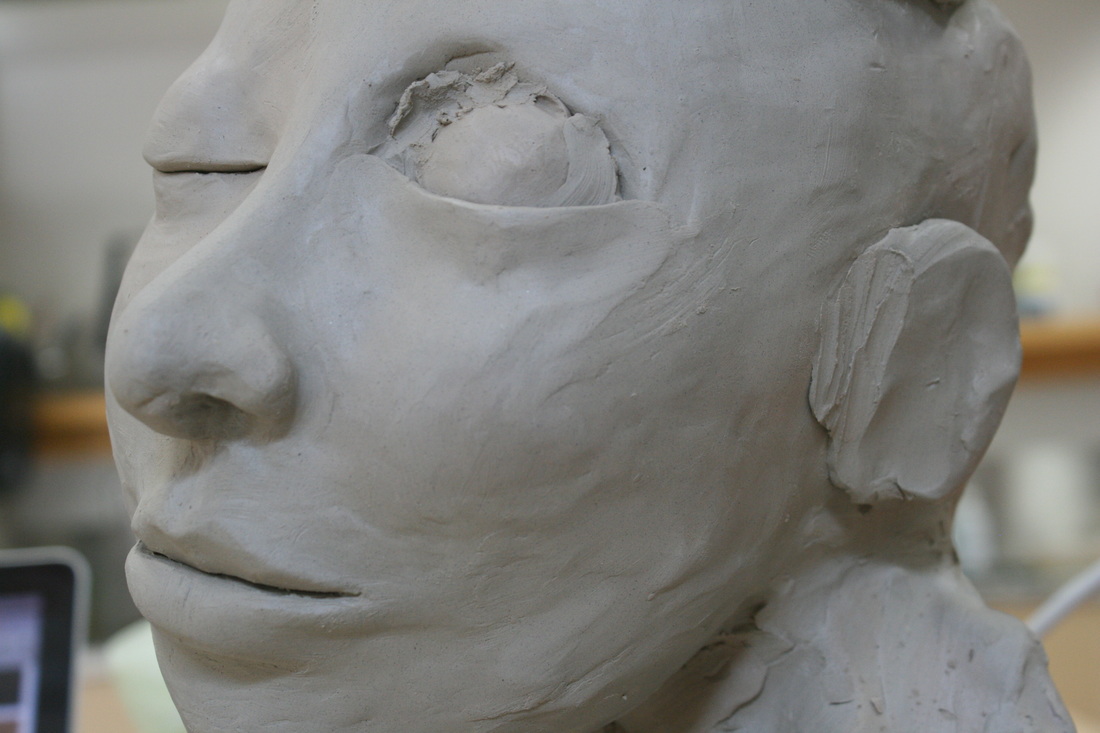
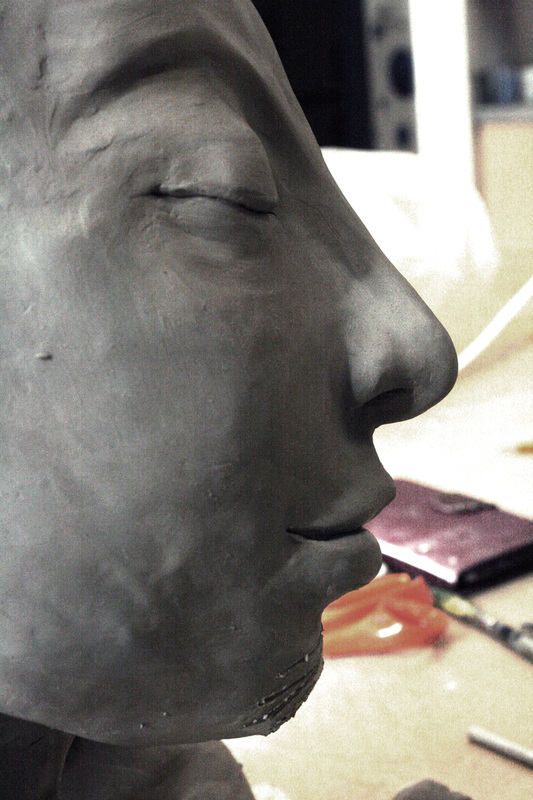
After adding the lids, I smooth them to blend to the skin. The first thing I realized when I looked at her today was how round her head was; this is because her head was built around a round ball of newspaper. My first step to correct this was adding more volume to her chin, nose and forehead. I made a large, flat flap of clay and cut off the shape of the eyes, so that it builds an eyebrow bone around her eye, accentuating the eye cavity.
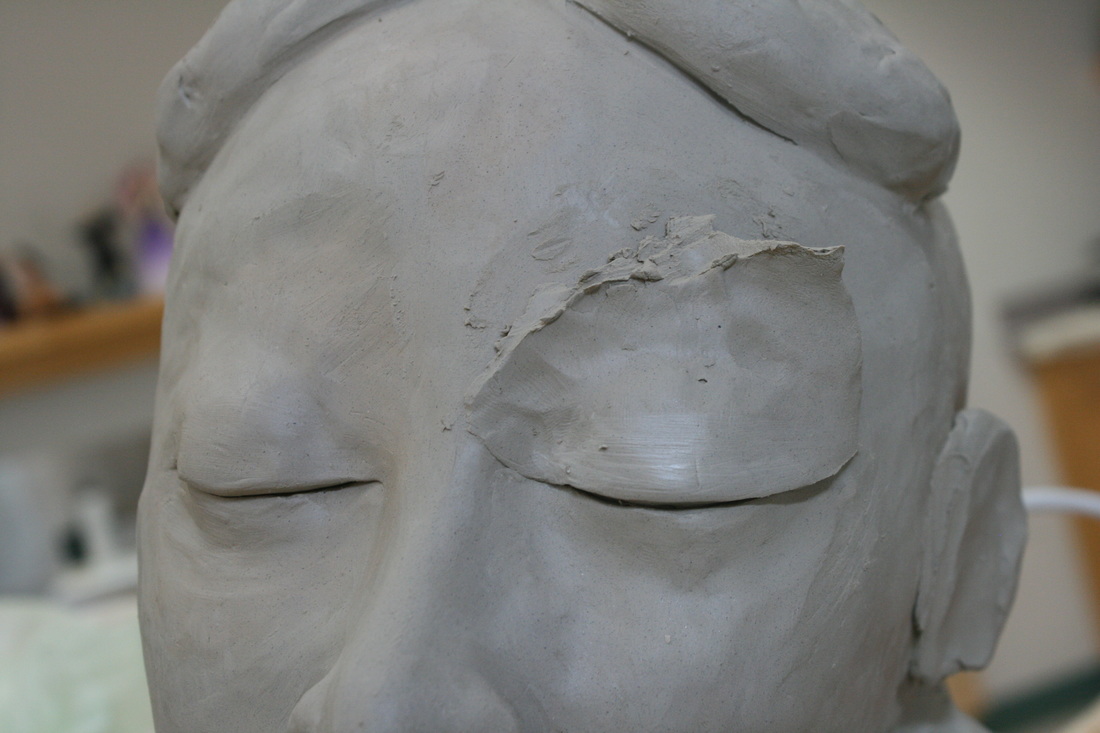
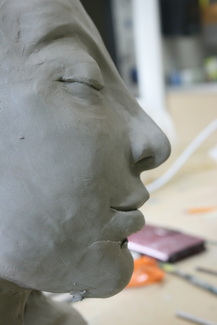
The forehead is starting to look better, but still a little flat; the chin addition was a huge improvement to her profile, however.
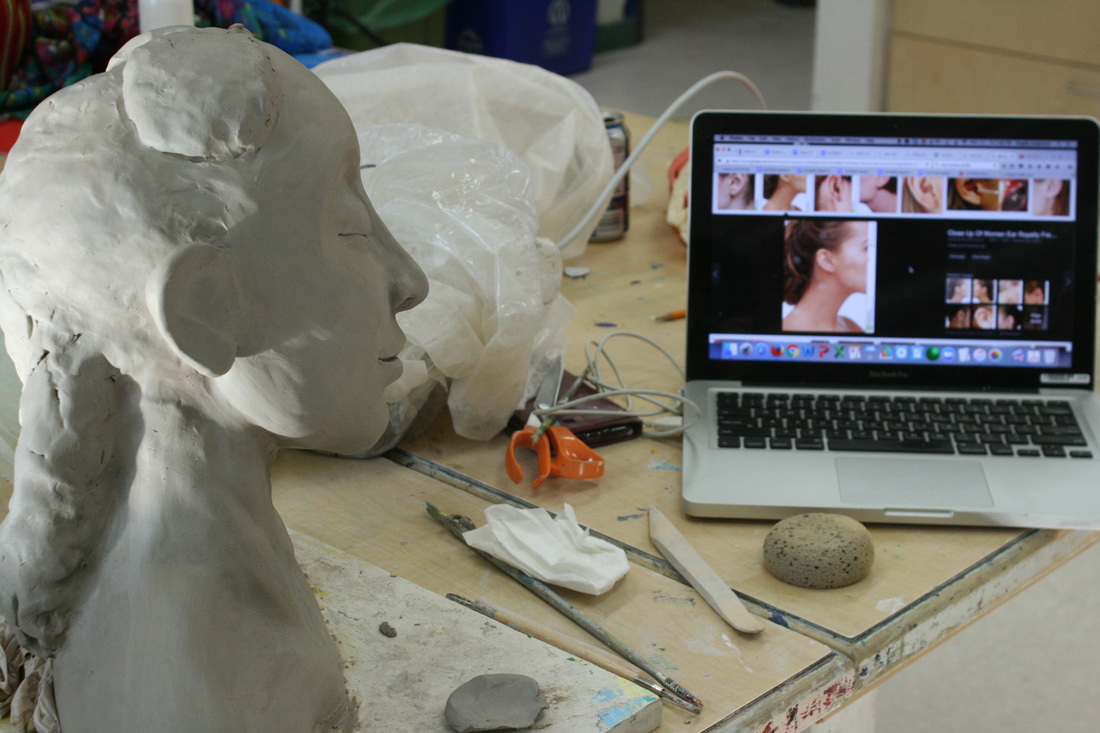
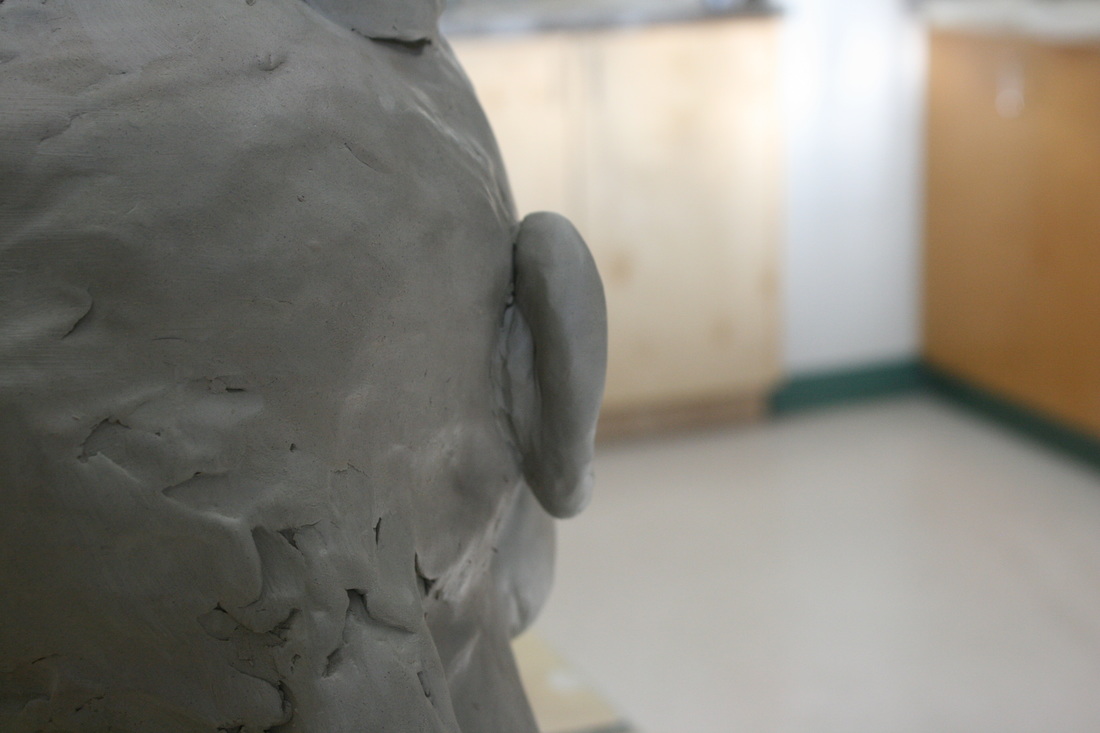
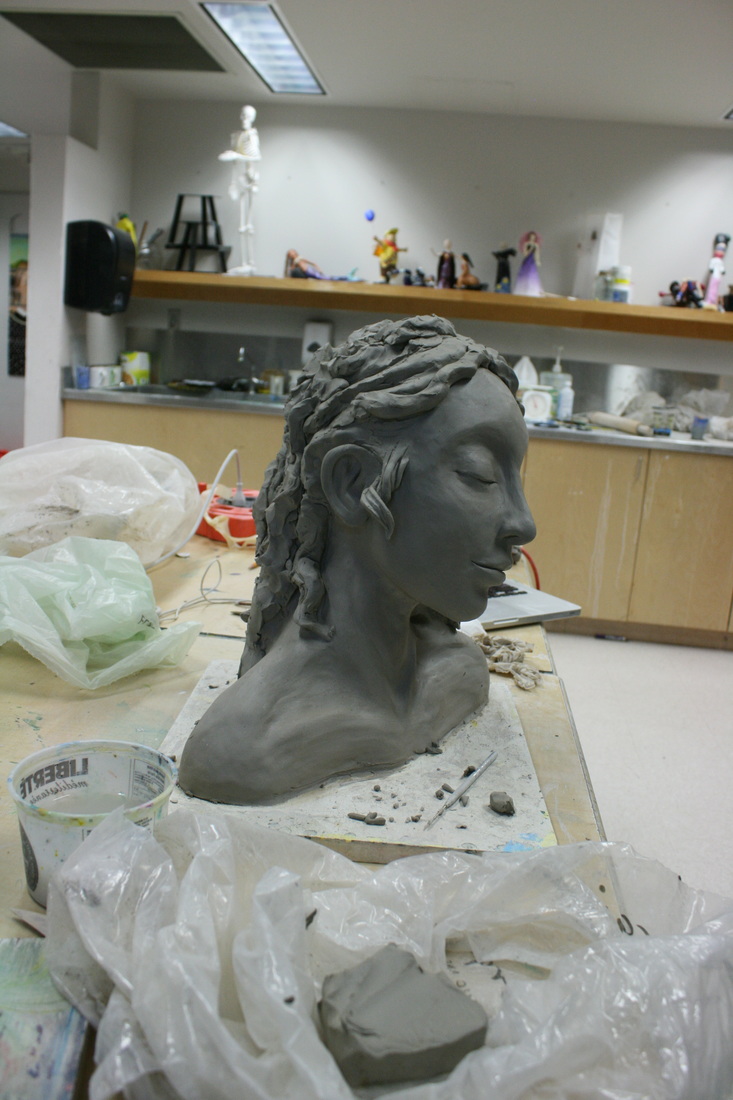
I added even more to her forehead to make her a little more human, and looked for some photographs as sources in order to make her ear. Below, a picture of her with a very flat, rudimentary ear...
...and below, you can see how the ear starter was made: a small slice of a circle works to separate the ear from her head, just like in real humans!
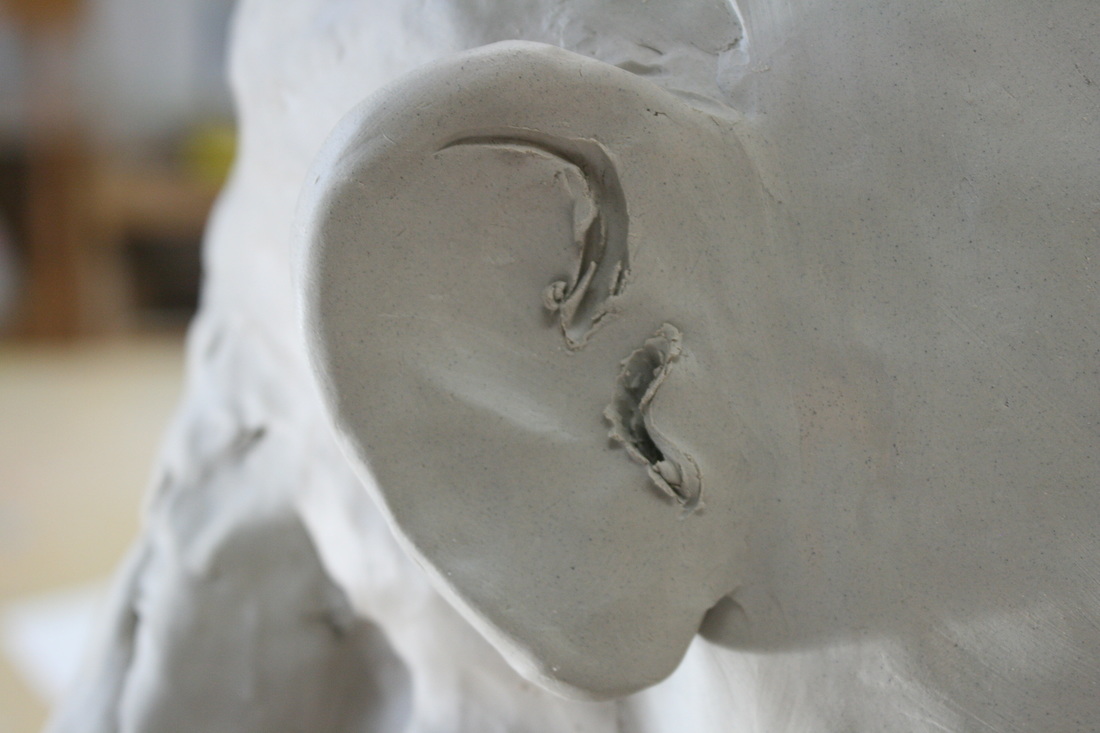
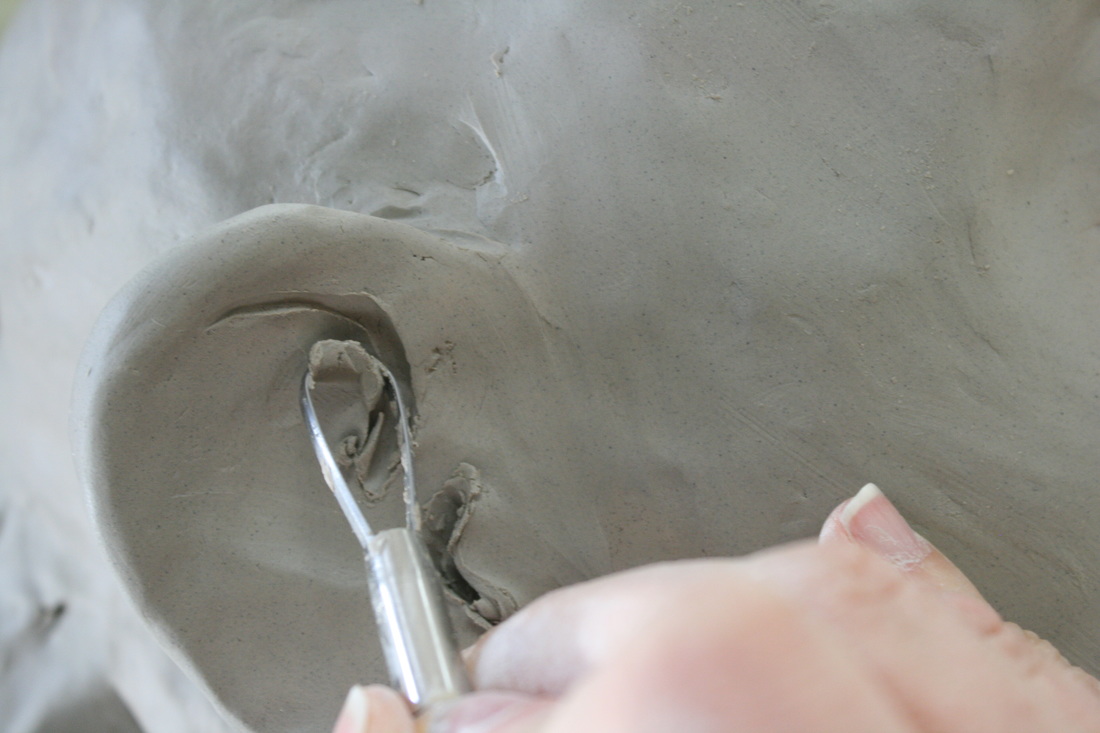
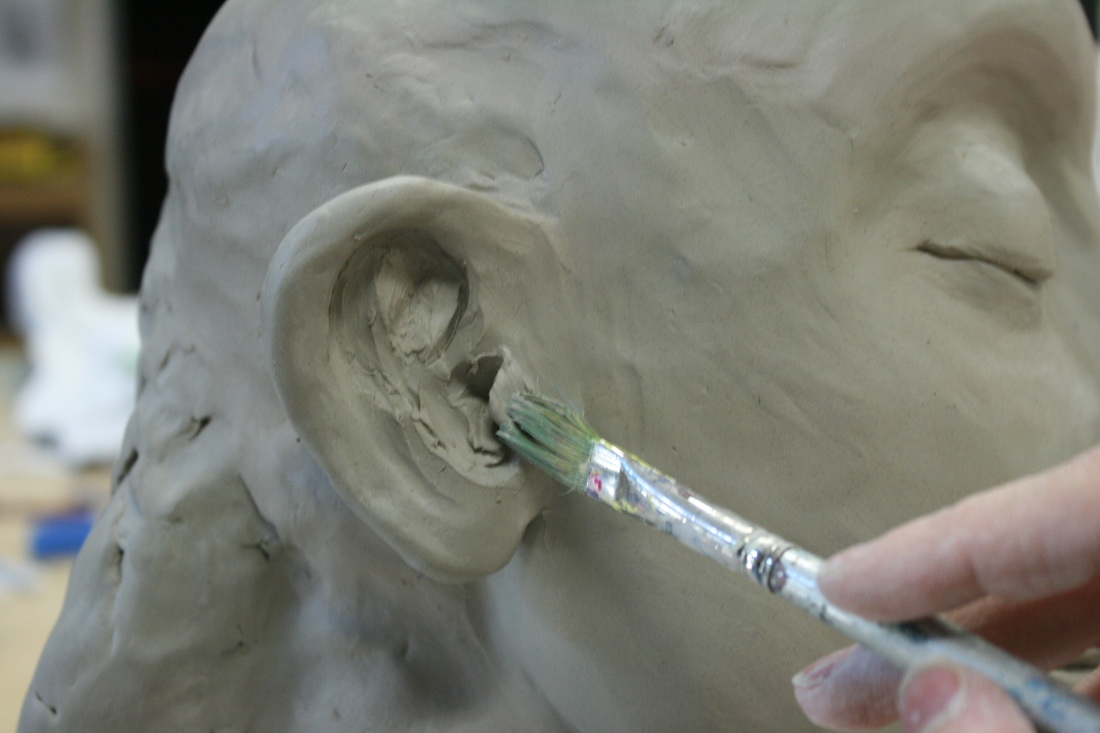
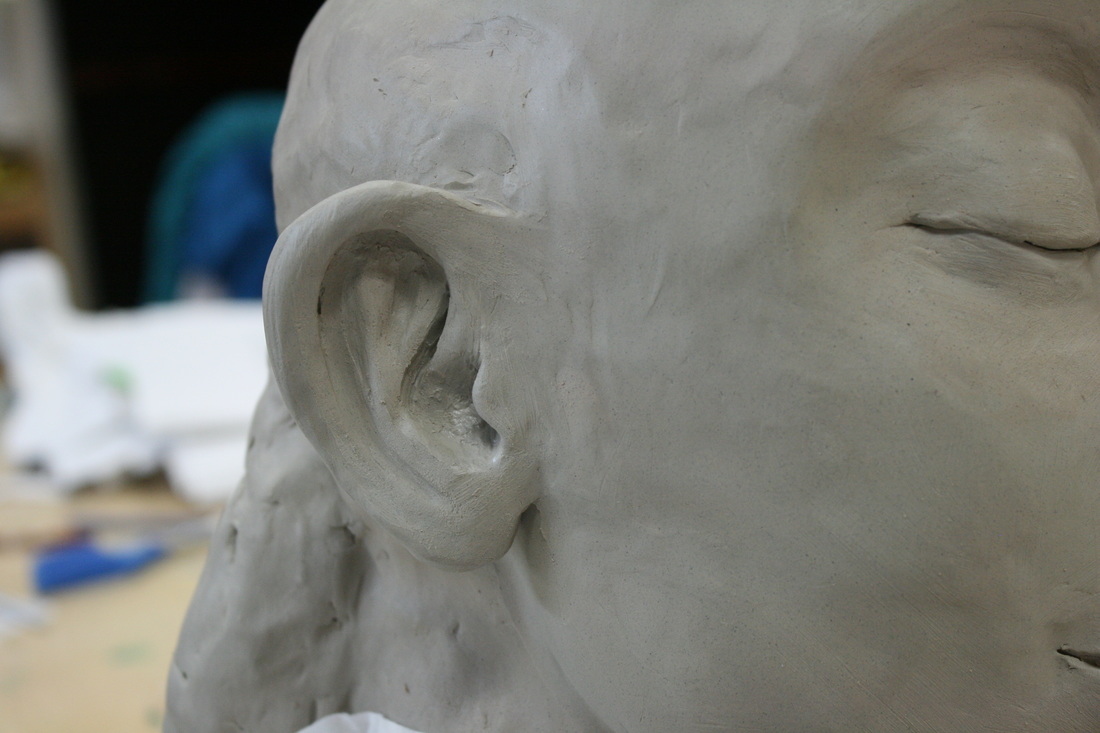
The ear is a tricky beast, so I figured I'd make step-by-step of how I made it right below. This also makes me think I should have smaller step-by-steps on building the nose, eyes and mouth; I'll do this in the end, when the bust is completed. First, I added the two starting lines: one for the upper lobe, and one near the ear canal. Then, I started carving the ear, switching between round carving tools and sharper ones, depending on how sharp I wanted the edges to look.
After I carved the valleys of the ear, I also added the ridges and peaks back where needed. One thing I have been using is a wet paintbrush, which I touch on areas I need to stay moist so that they don't dry too quickly. Things that dry too quickly tend to separate and crack off! The horror.
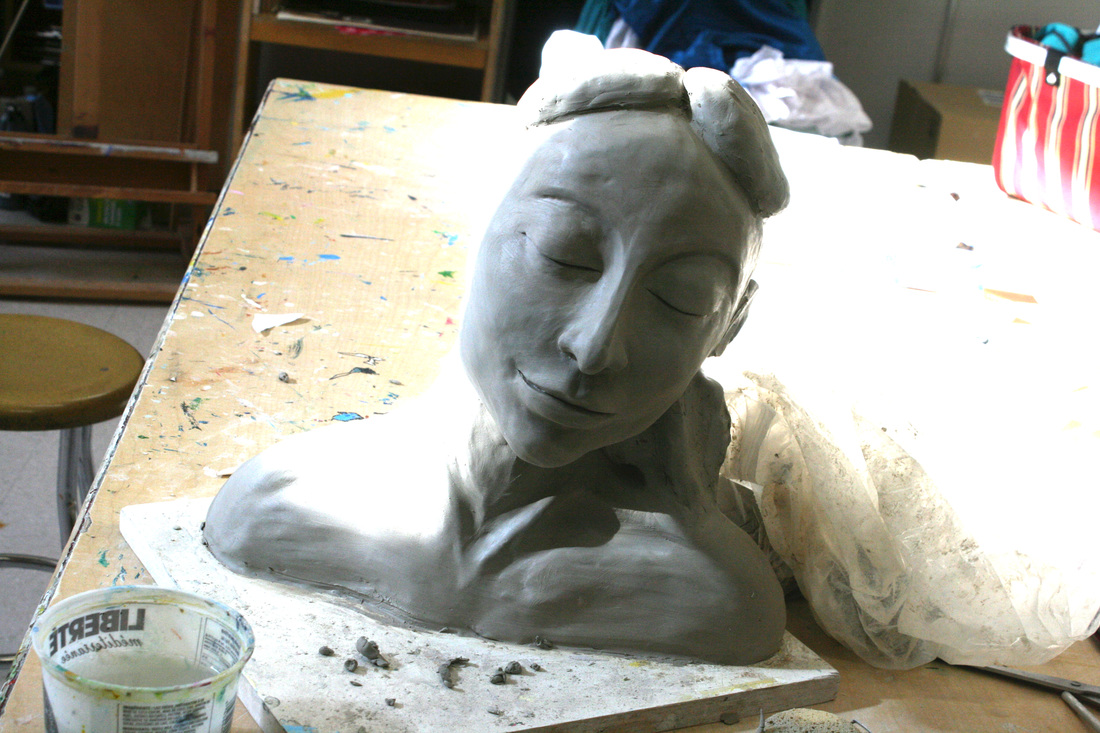
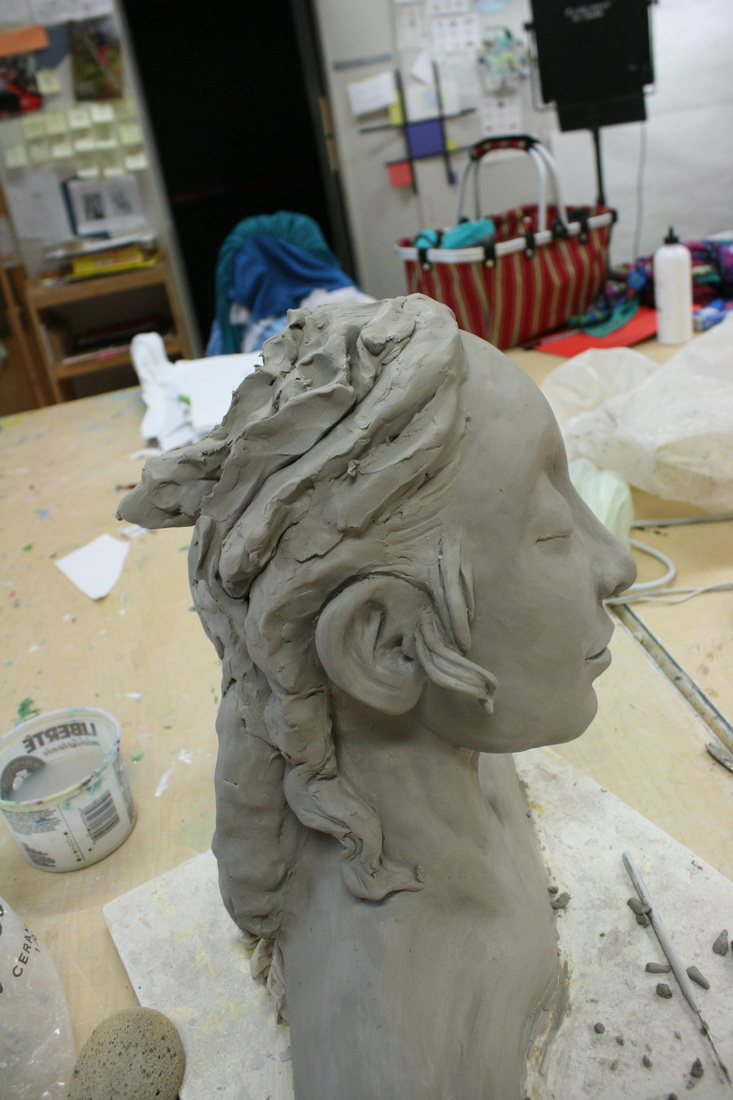
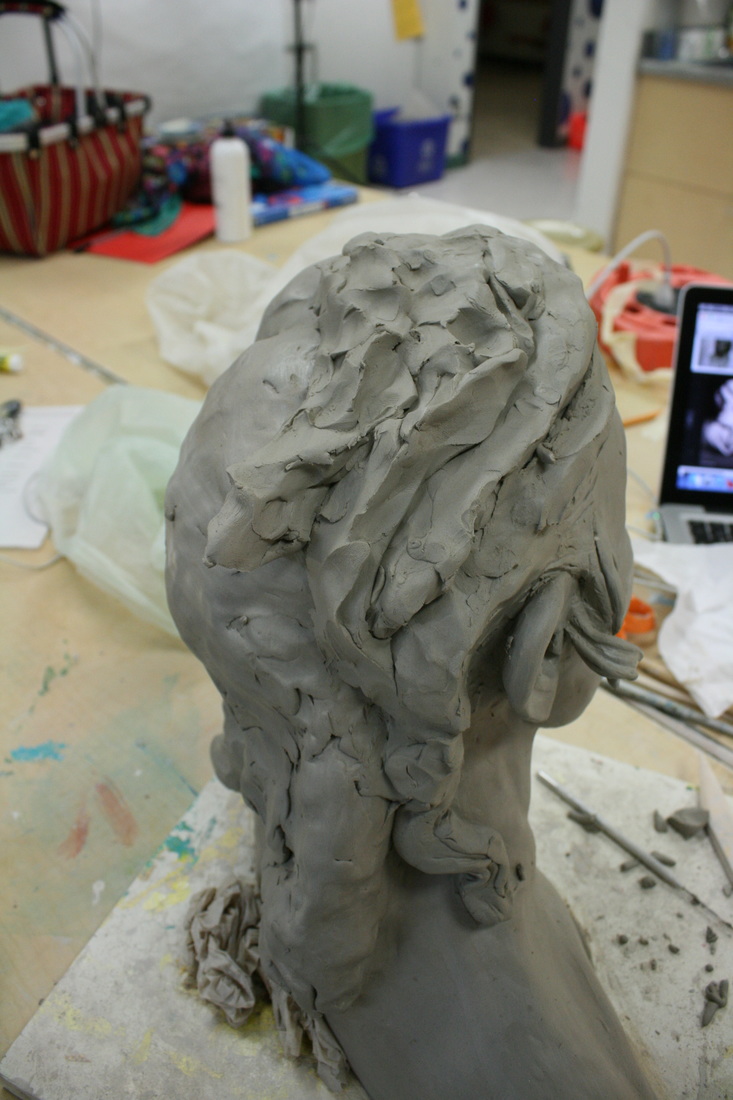
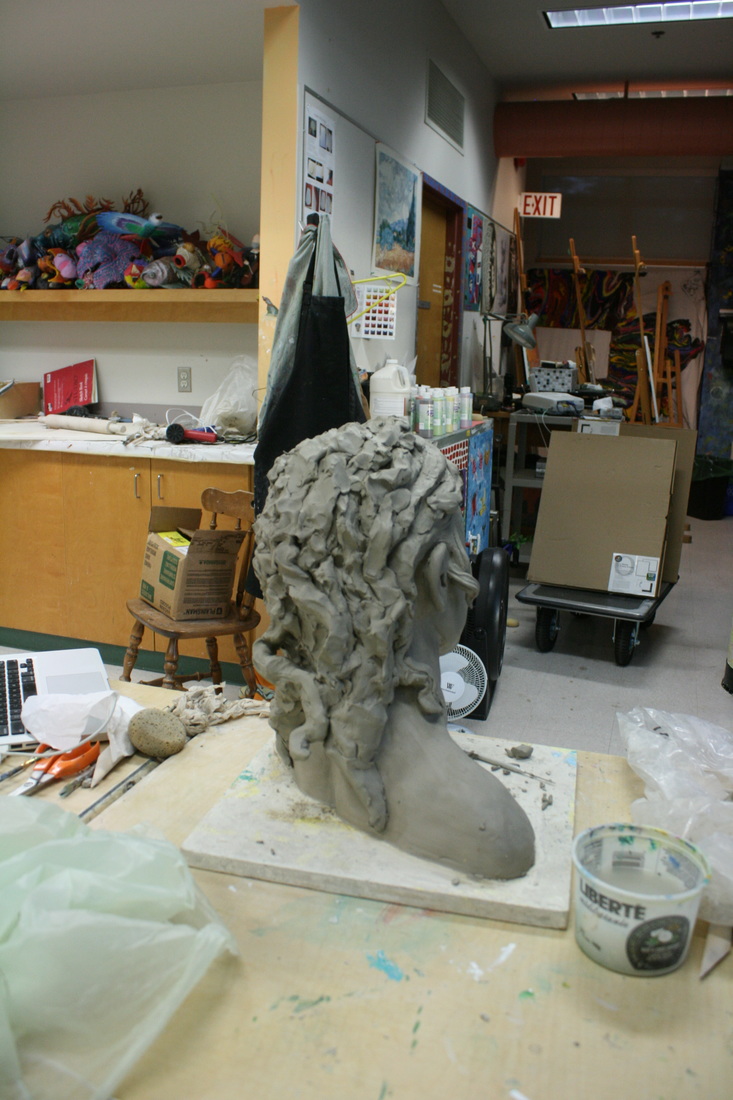
I started adding more rudimentary hair, but wanted to see how it would look like if I added a curl near the earlobe. This is what I have so far! 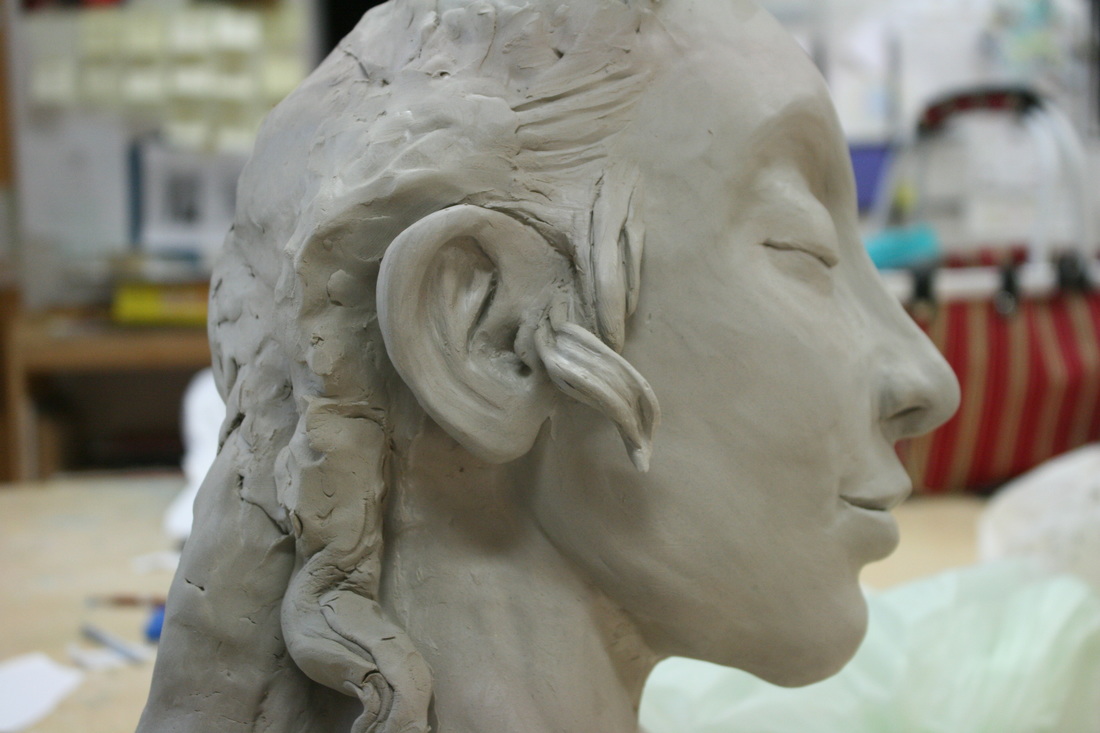 I also noticed the back of her head was missing volume. It looked like her cranium was too short, which made her look unrealistic. I started adding clumps of clay to the back, as well as more hair. To add the hair, I made long, thick coils, and added them by pressing and twisting as I went, a lucky technique I came up with which ended up giving my sculpture a somewhat Rastafarian look. I am not sure how much of the original dreadlocks I will cover in the end!
This is what I have in the end of the day. I feel this was a very productive day!
0 Comments
Leave a Reply. |


 RSS Feed