|
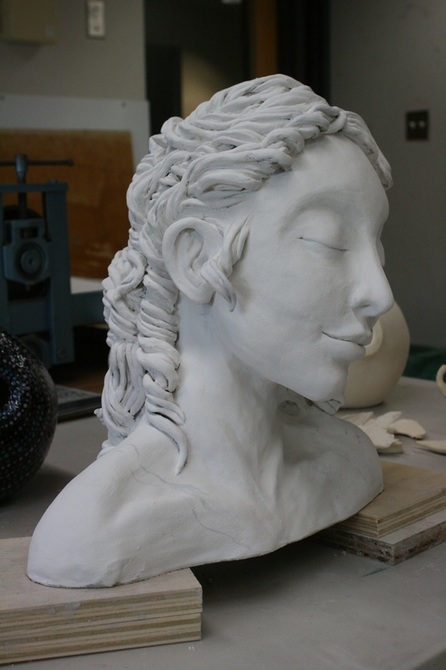
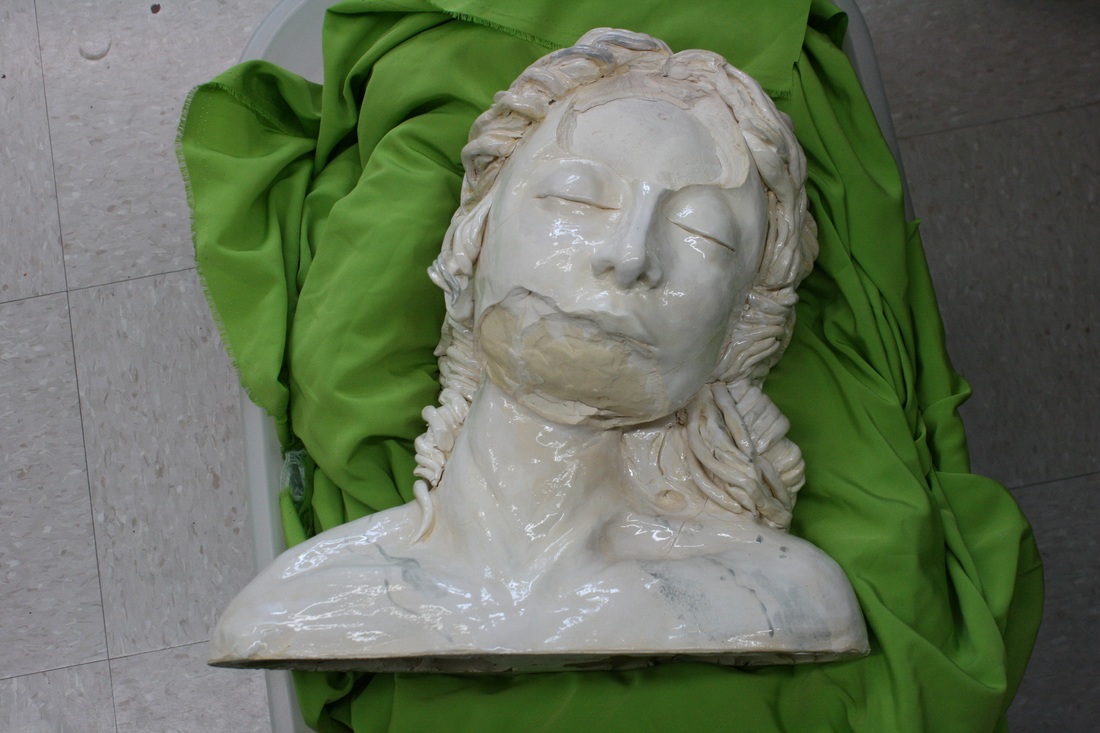
6/24/2016 0 Comments Suru KintsugiSo, it happened. BIG Kaboom. As it turns out, two weeks is not enough to properly dry such a large sculptural piece. I was running out of time; the bust needed to be completed and moved out of its location. With only days to go, I decided to go ahead and fire her... and it didn't turn out pretty. I know what my problem was; according to many sites I looked at online, including Claygeek, it's not necessarily the air bubbles that cause for the piece to explode, but the trapped moisture within that air bubble. It takes time and patience to dry a large sculpture like that, and unfortunately I ran out of time. Our kiln also does not have a preheat function, and really, she didn't fit in a house oven, unfortunately.
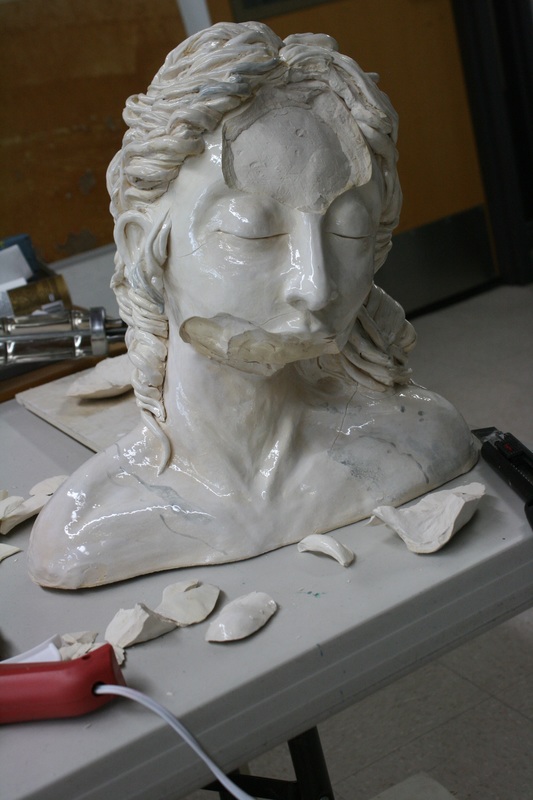
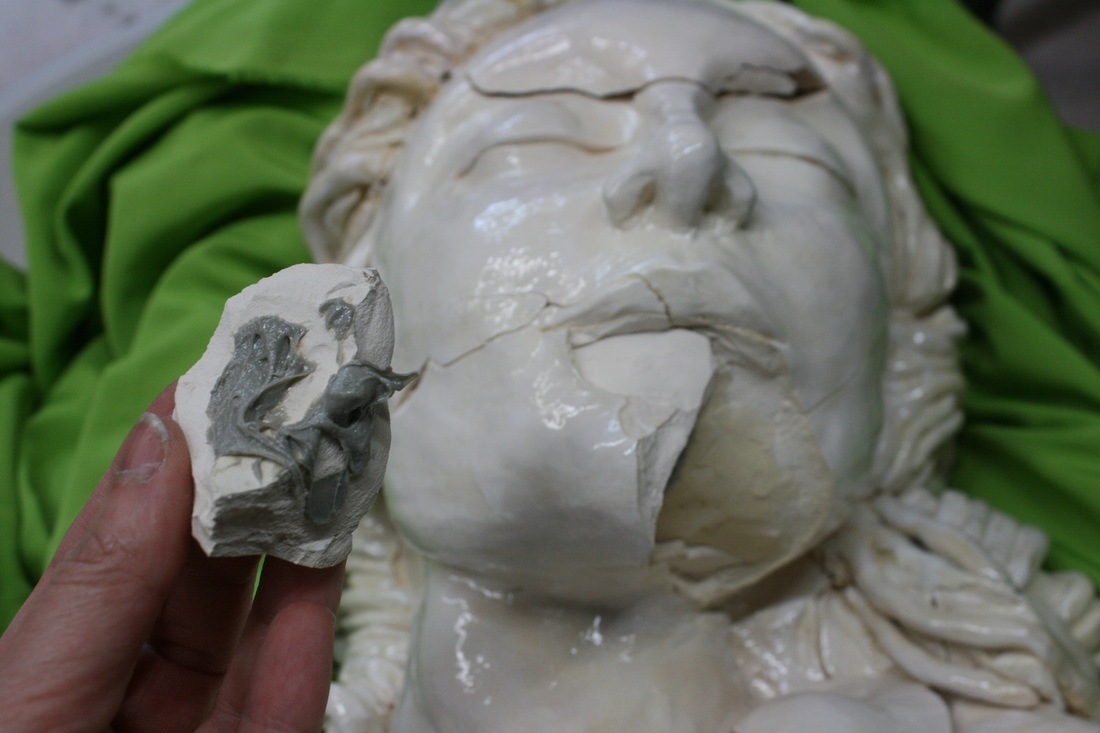
As I took the pieces from the kiln, one thing I realized was, since the piece exploded during firing, the pieces fired separately and... they didn't quite fit together anymore. They bend and crooked and shrunk completely different. Not quite as simple as putting together a vase that cracked on the ground. Also, besides the obvious bigger pieces, I was left with a handful of shards which made no sense and fit nowhere -- or, could really fit anywhere.
So, the rational part of my brain suggested that I just throw the whole thing in the trash can, and move on to the next project (or, more realistically, to the project of cleaning the art room). But the emotional part of my brain still loved the poor broken statue, particularly after so many days working on her, trying to make her smooth and proportional and give her the right expression. My brain went through the catalogue of things I've seen in art, desperately looking for an answer to my predicament, while a lump formed in my throat... and an image flashed in my mind: a vase fixed with gold. I remember reading about an old technique from Japan: when a vase falls on the ground, instead of disposing of it, they fix it with gold, making the cracks even more prominent. I remembered that by doing this, the object was even more valuable, as it now had a story. I quickly looked online, and it turns out this technique is called Kintsugi. According to Wikipedia, their philosophy states that "part of the history of an object, rather than something to disguise." I had a caulking gun still leftover from my mural project, and a tube of construction-level strength glue (8 times the strength of normal construction glue) so I decided to give this a go. I thought that in the end, I could cover up the cracks partially with golden acrylic paint; I knew the cracks would be huge, but following Kintsugi, I might as well embrace those imperfections.
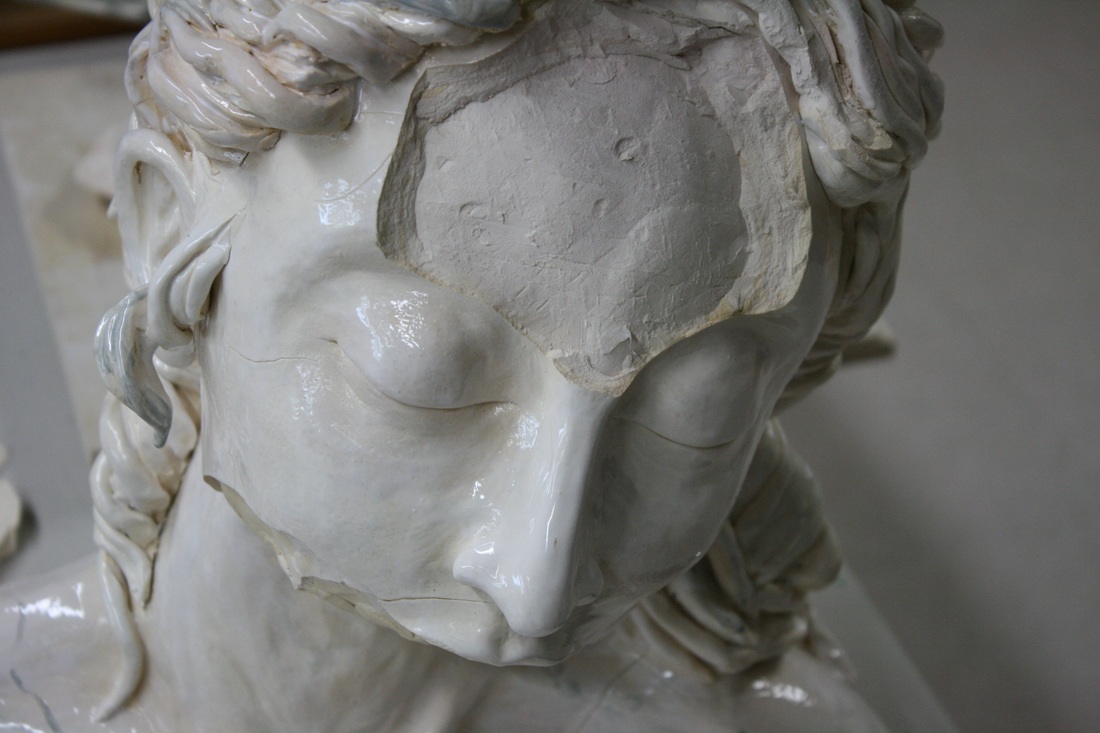
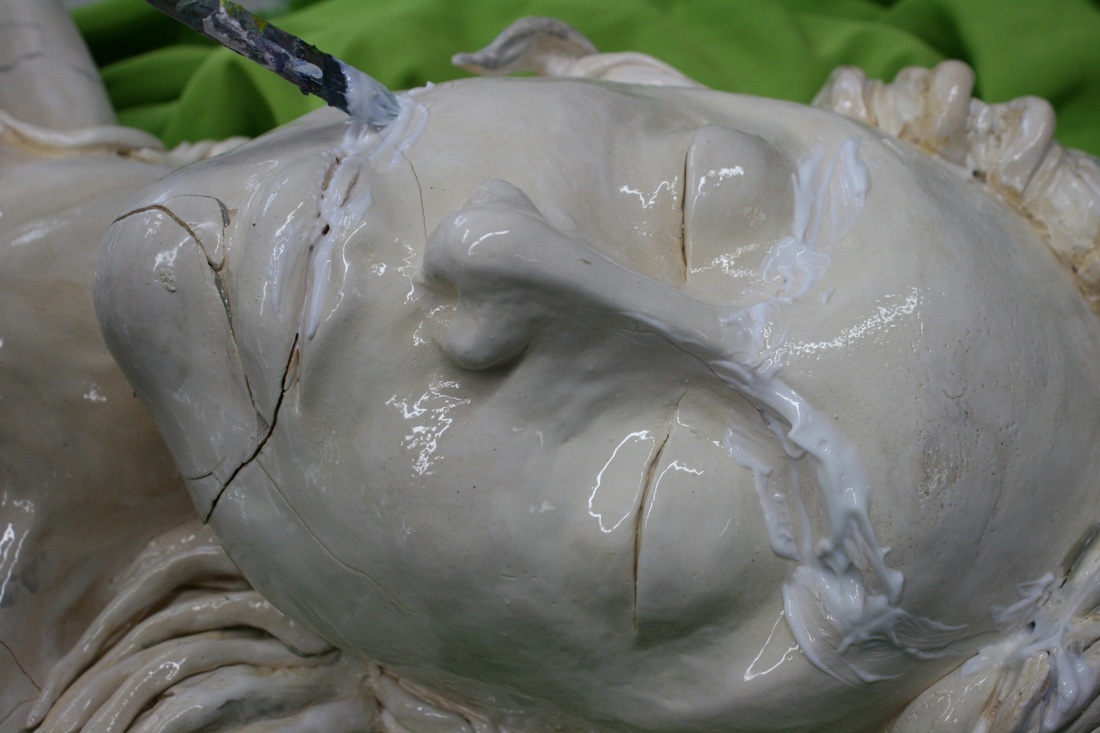
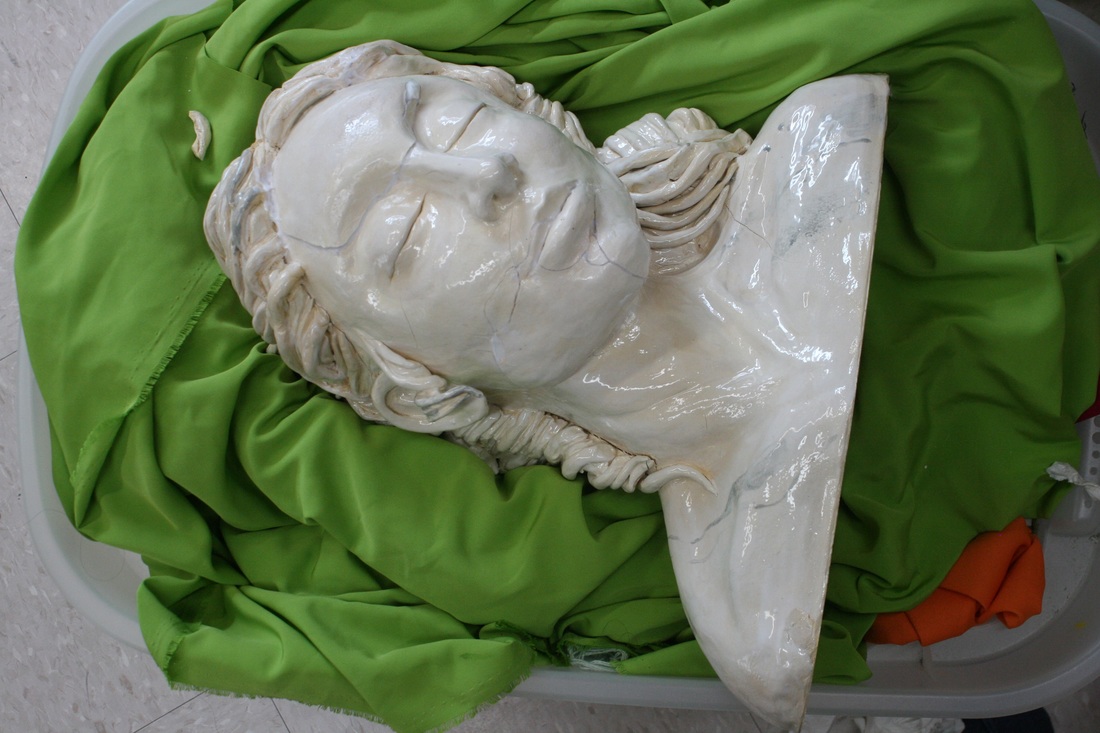
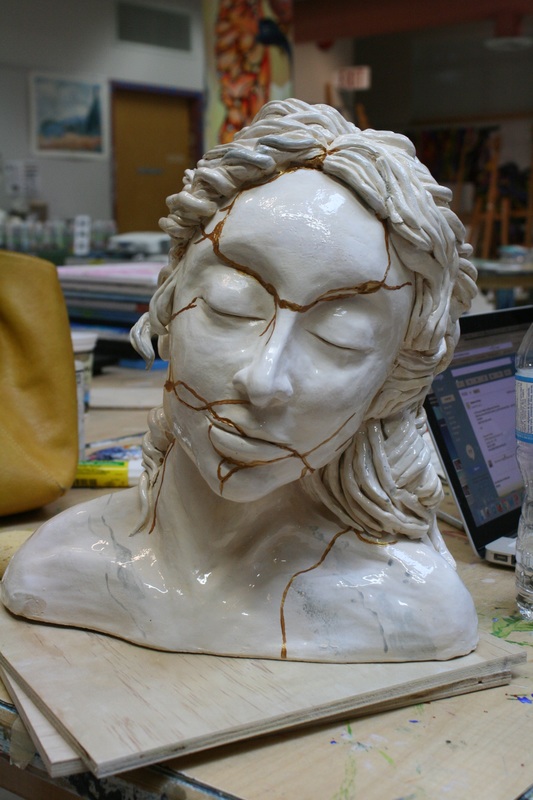
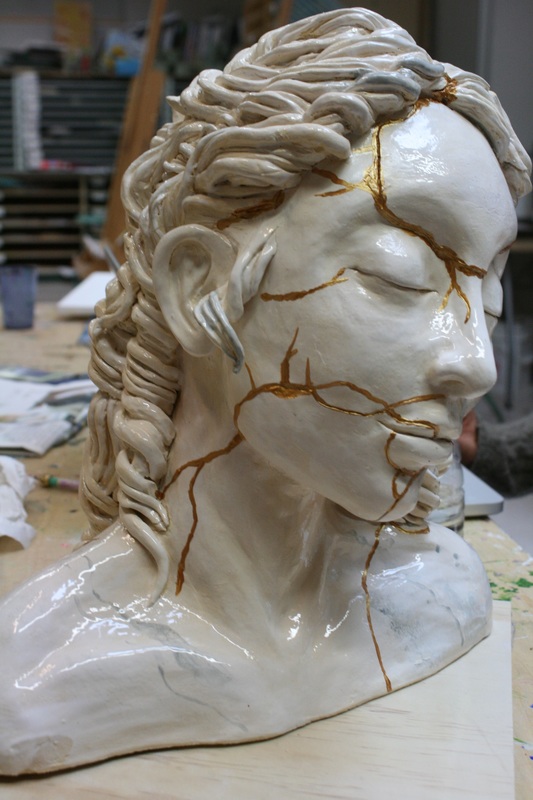
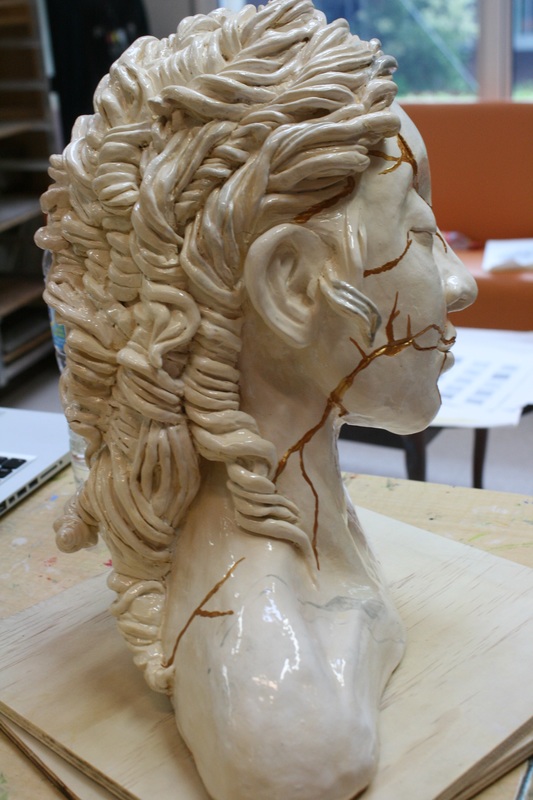
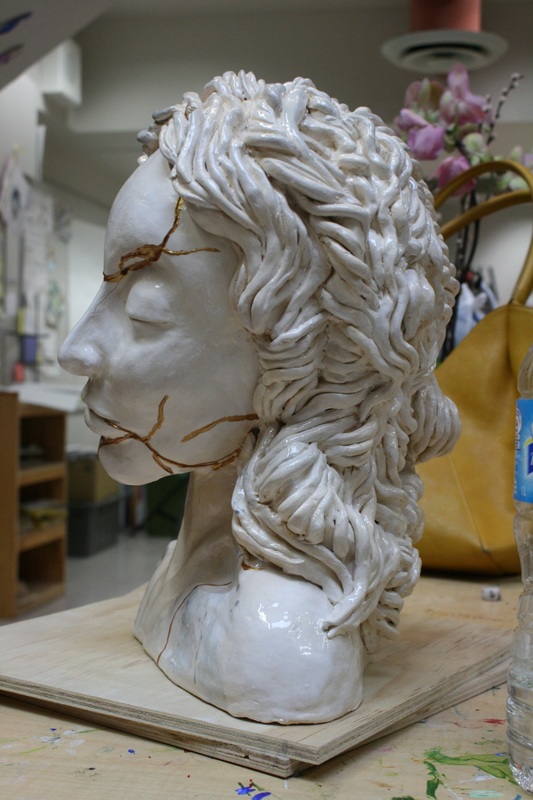
After gluing everything together, I filled the holes with acrylic medium, as well as the cracks. I left the statue drying overnight before proceeding with the restoration process. Below, the final result with the gold paint. I am happy with the results, and think it actually added a lot to her character. It looks intentional now, and the gold paint looks wonderful against the glossy surface of the statue. For now, I am done painting the cracks, but it's such a good effect that I might revisit it next week and add even more cracks to her, in places where she doesn't necessarily need fixing... but to decide where, I want to play with it in Photoshop first before committing.
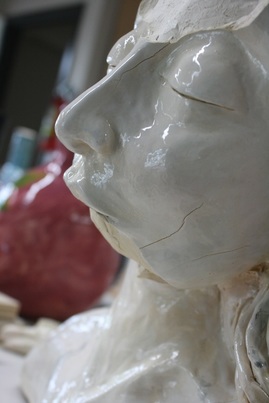
She is now sitting on the shelf above my desk at school. Even though she has all those cracks, she still looks very serene.
Like my daughter said, "Now it looks like she's been around the block a few times." So, it turned out to be a self-portrait after all. ;) I have learned a lot about this process; I am confident that, should I try to do this process again, the statue would not explode in the kiln. I have also learned that sometimes mistakes can allow for even more explorations in art, and that there is a lot one can do to recover a damaged piece. Finally, I have learned a lot about documenting and sharing procedures; as it turns out, I tend to take way less pictures than necessary. I get too enthralled on the process and forget to click the button. For this reason, many steps are missing; thankfully it is documented enough that you can get an idea of the missing parts. In the future, I want to focus on better documenting, so I can provide an even better benefit to others who may be walking the same path.
0 Comments
Leave a Reply. |
 RSS Feed