|
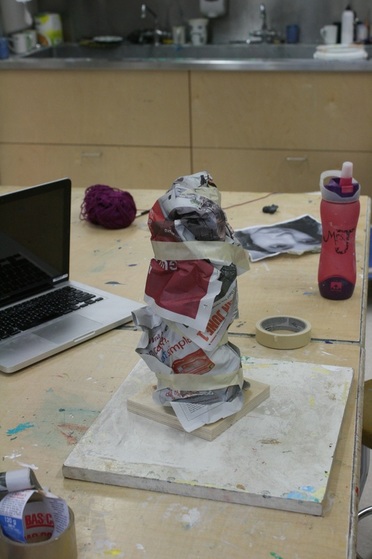
5/20/2016 2 Comments Working through mudSo, I received two boxes of fresh clay on Wednesday, and went on with my new attempt at constructing a bust out of clay. If you recall my last vlog, I was stuck between two valid suggestions: making the sculpture around newspaper to make it hollow; or, making the sculpture all solid, cutting in half later on and carving the guts out. I chose the first idea. I used a wooden stick glued to a board to make a skeleton type of structure in the centre of my bust; I proceeded to start squeezing newspaper around it. Below, a video of my first impression using the technique.
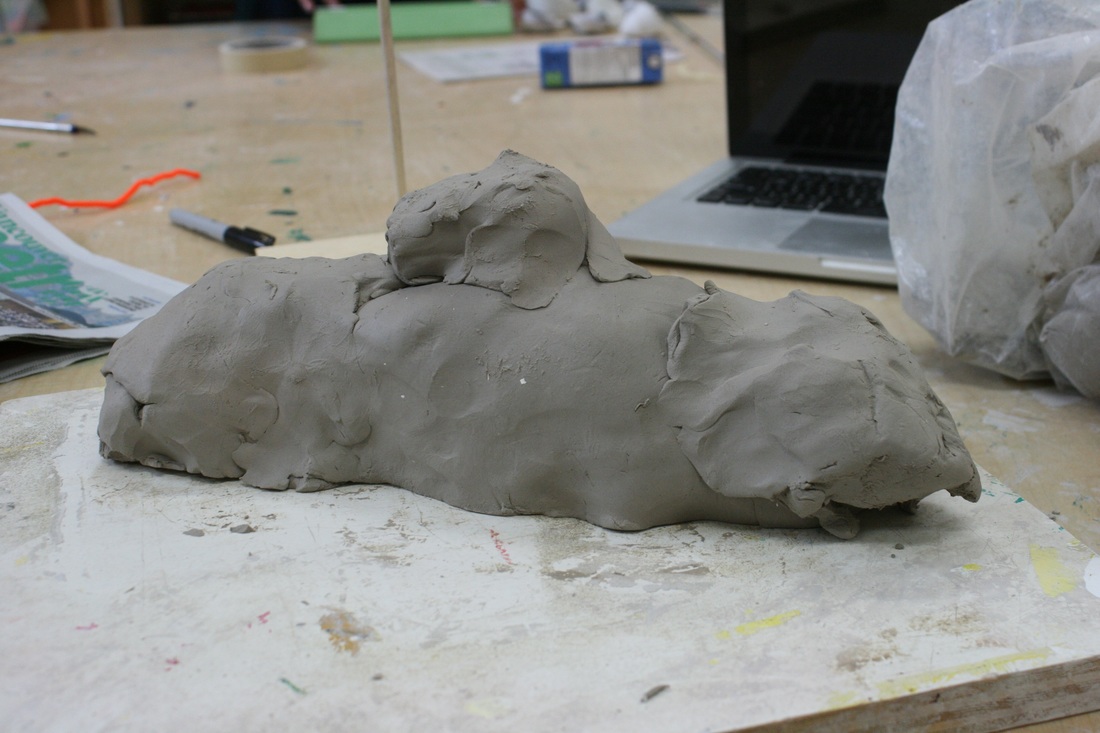
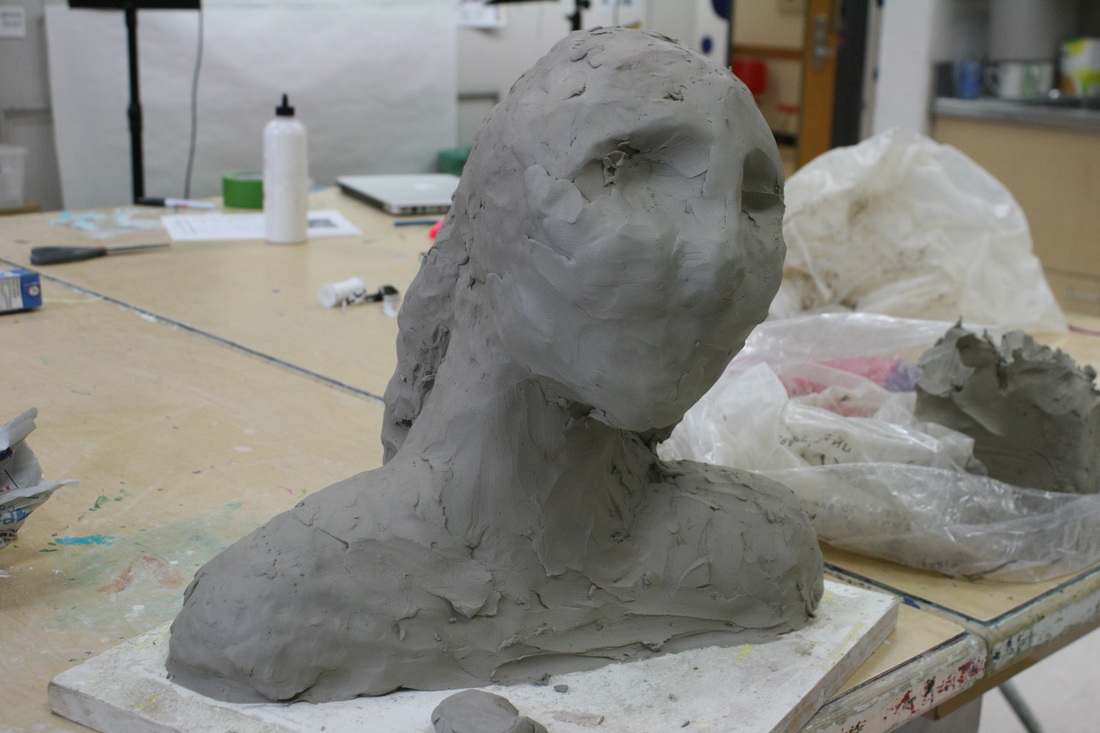
Things seemed to be going in the right direction; the problem I faced was, as soon as I placed a substantial clump of clay around the structure, it started to bend in a weird way, and I got extremely cold feet. So I decided to scrap the idea and go with a solid structure this time around. To avoid the same issue I faced last time, where the weight of the sculpture's head destroyed the sculpture, I decided to make the head itself hollow, building it around a large newspaper ball. The way I build this was, really, getting clump by clump and squishing it onto the piece until it got bigger and bigger, just like adding sand to a sand castle. Every new little clump was then smoothed out and air bubbles were squished out -- because as you may or may not know, air bubbles = kaboom in the kiln. The air expands and the whole thing breaks into a million pieces, just like Humpty Dumpty, and you just can't put it back together again. I was afraid still of the head being heavy on the neck, so I quickly ran down a long coil on her back coming from her head; this could translate as curls or a braid later on
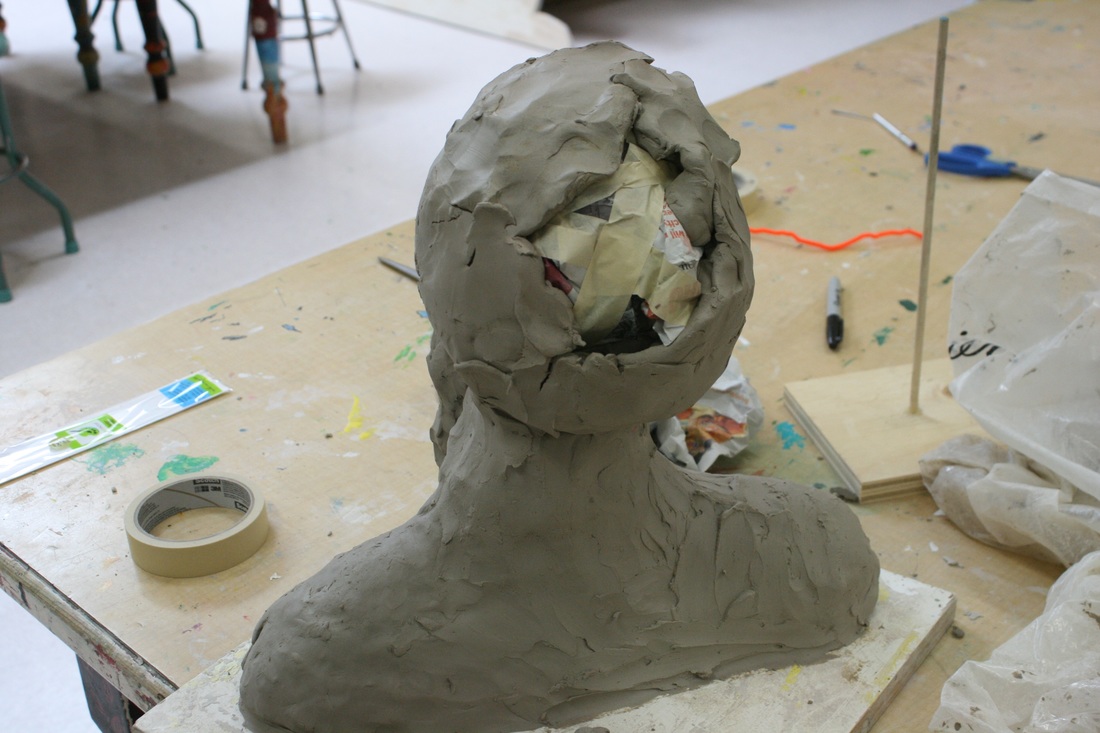
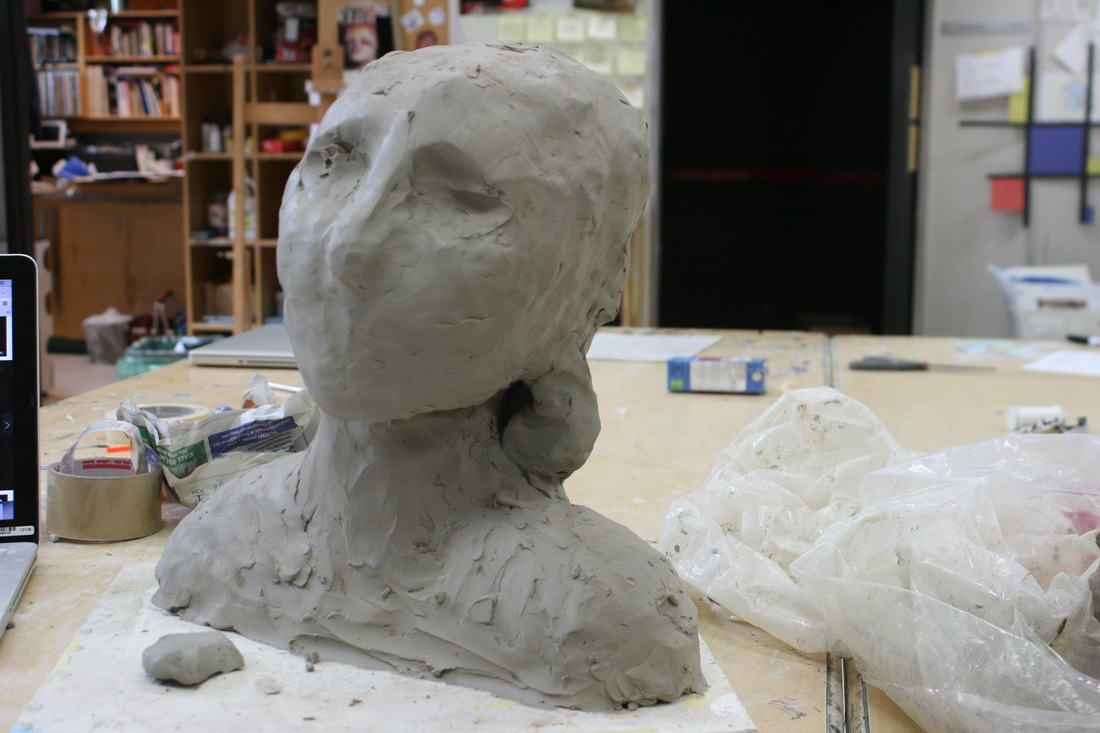
After I finally closed the ghastly face hole, I started to add more and more clumps and smooth it all together. I didn't score or use water, just worked fast enough to ensure the clay stayed moist and pliable. I had a moist sponge next to me, and kept running my hands over the sculpture; as soon as a certain area started to dry out, I would run the sponge over it to moisten it again. At this point, I added a shape for the nose and chin, and also pushed my fingers into the eye sockets to indicate the eyes. I started adding more and more volume on the cheeks and under the neck, as well as the skull. I added two shapes on the back to indicate shoulder blades.
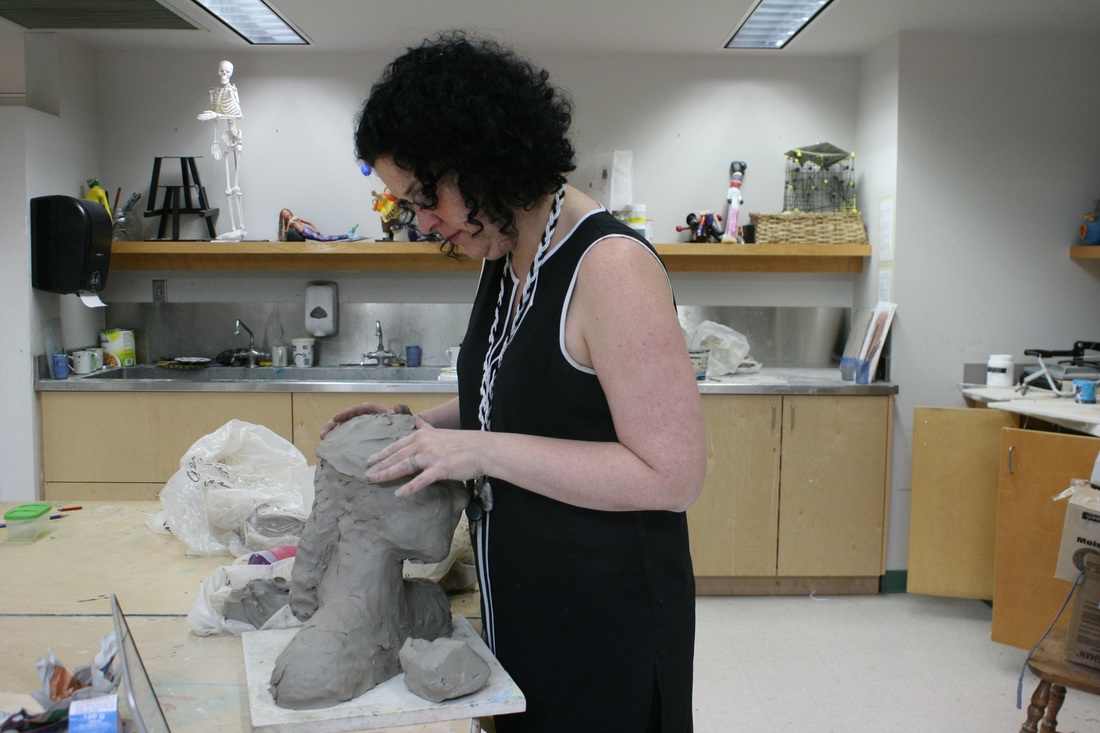
People came and looked at this point, and didn't know what to say. One girl called it Voldemort. I pointed out it did have a nose. While I added some of the future hair, I asked a student to take a photo of me. It gives an idea of the size of the bust so far. I'd say it is close to life-size.
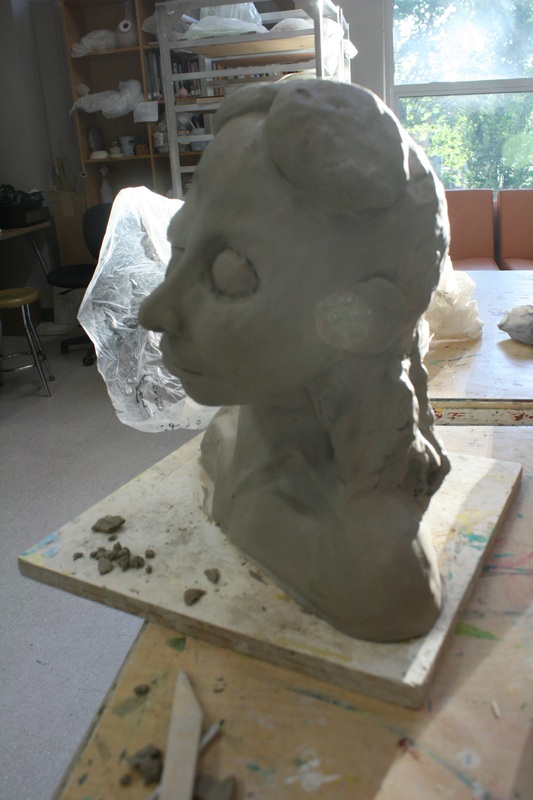
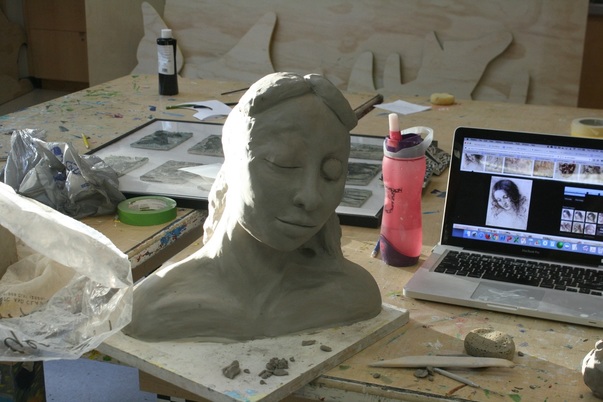
After spending a good long time smoothing her skin with my hands and adding more clay, I carved out the space above her clavicle and some areas on the neck, and added bits here and there. I made her a mouth -- which turned out too big but I didn't want to change it. I also added a large eyeball in each eye, which I always do before adding eyelids; this makes the eye much more realistic. However, this time around, I decided to make the eyes closed. Her nose turned out OK, but a little big.
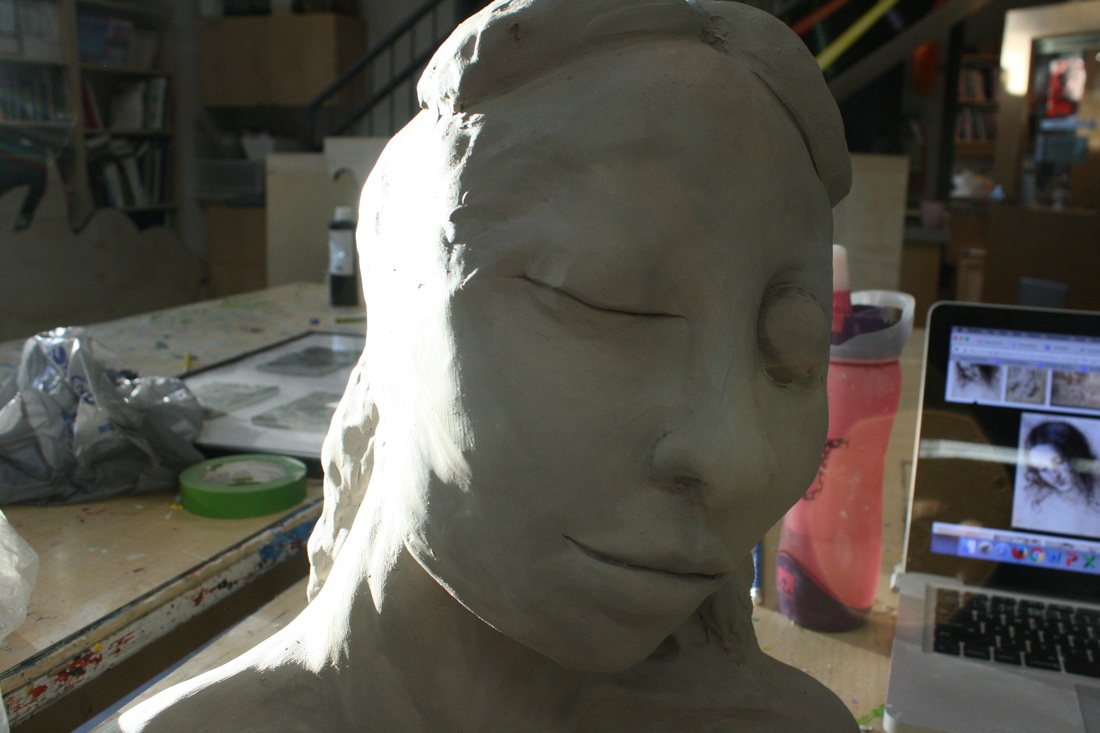 I think she is turning out really nice. I love her little smile. She has strong features... really not my intention. I was going for sweet Renaissance and ended up doing warrior princess... darn. :)
Looking forward to working with her again!
2 Comments
Lindssey
5/22/2016 06:48:50 am
That's fantastic Angela. From someone with no artistic background it's interesting seeing the whole process. Perhaps a little of your own inner warrior princess is reflecting in her :) Leave a Reply. |

 RSS Feed